First of all, you might wonder why PDF patterns need to be converted to JPGs. The main reason I do it is so that I can add just what I want to the pattern pieces in my cutter software, Sure Cuts A Lot. Patterns, first of all, are genter ally cut out from folded fabric. Cutters use a single layer of fabric. I may have pattern pieces that are cut on the fold that need to be changed to a full, flat pattern piece. Second, I want to add draw markings to the pattern pieces so that my Brother ScanNCut will know what to draw on the fabric with one of its erasable pens. Third, I need to lay out the pattern pieces on the fabric grain, and plan my cutting layout accordingly.
There are at least two ways to convert a PDF page to a JPG:
- Scan the PDF page, and save as a JPG file. While this will certainly work, it is harder to get a perfect scan with the pattern pieces exactly straight.
- Convert the PDF file directly to a JPG file. The advantage of this is that I will be able to convert my file exactly as it is in the pattern, without having to worry about whether the paper is straight enough, or dark enough for a perfect scan. The disadvantage is that it requires additional software. I use Adobe Elements because it can directly open a PDF page and save it in a graphical format.
For this set of pages, I will be converting one of the great free files available from Pixie Faire. It’s the Trendy Tee shirt for Kidz and Cats dolls, available here:
Liberty Jane Trendy Tee for Kidz N Cats
To convert a PDF file to a JPG file:
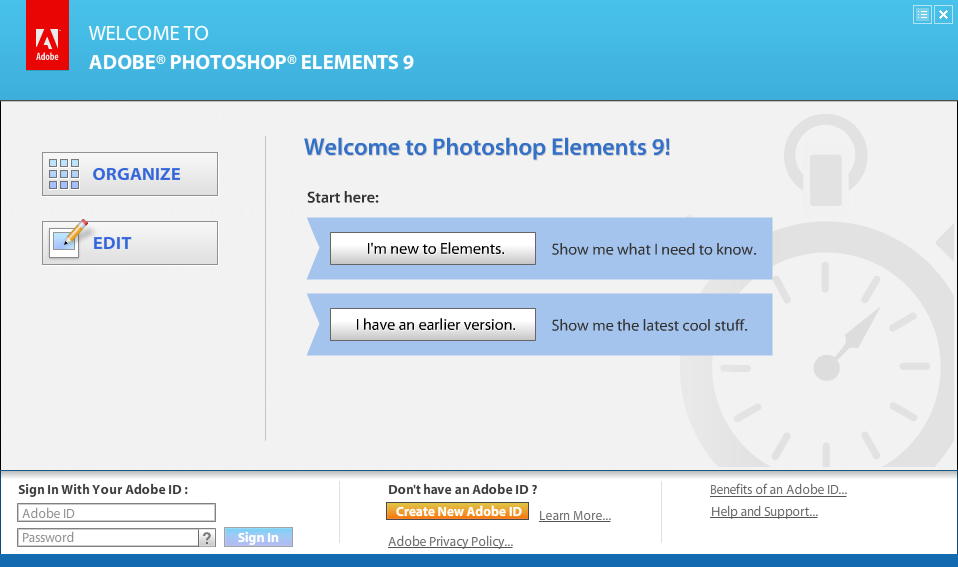
- Launch Photoshop Elements. Select the <Edit> option.

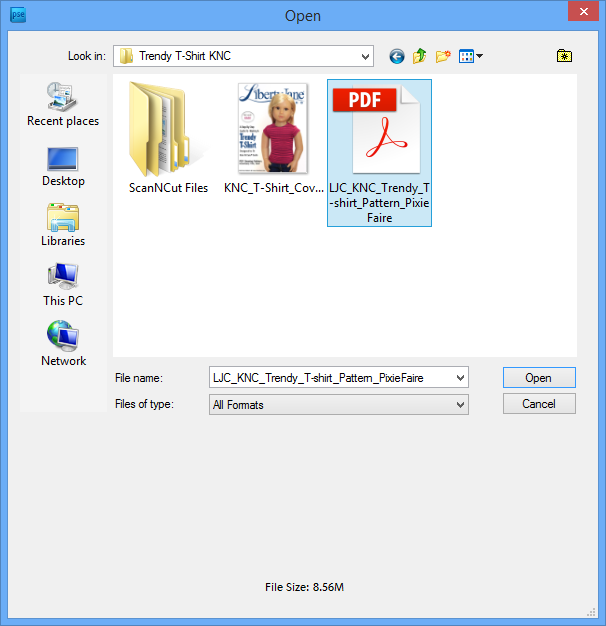
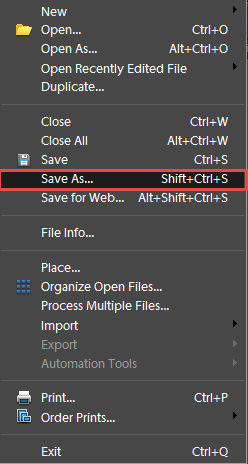
- At the File menu, select Open…

- Open the PDF file from wherever you have saved the pattern.

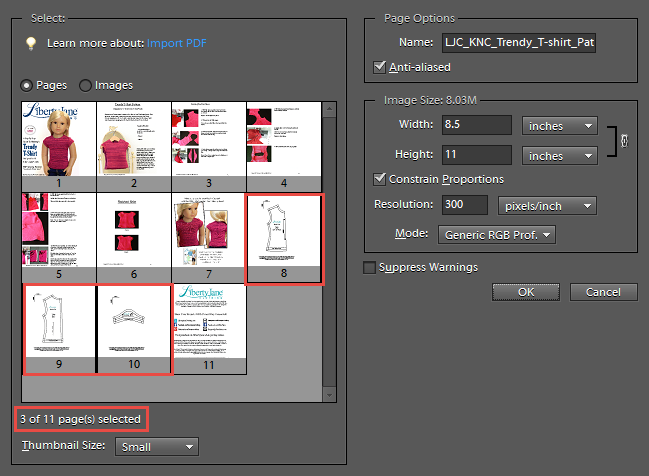
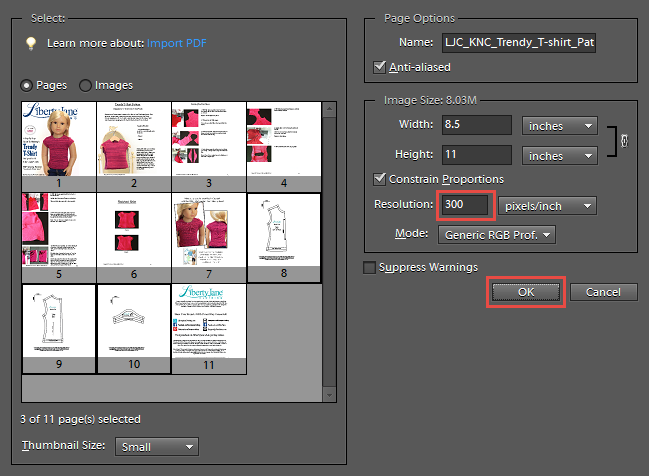
- Photoshop Elements will then display a grid of pages available to be opened. Holding down the <SHIFT> key, select the pages that contain the pattern pieces. Be sure that you see the number of pages selected matches what you believe needs to be opened.

- Before you click the <OK> button, be sure that the resolution is at about 300 dpi. I do this just in case I need to get a higher resolution version of the page later. Once you’ve ensured that the resolution is high enough, click the <OK> button to convert the files to Photoshop format.

- Photoshop will open just the pages that you select.

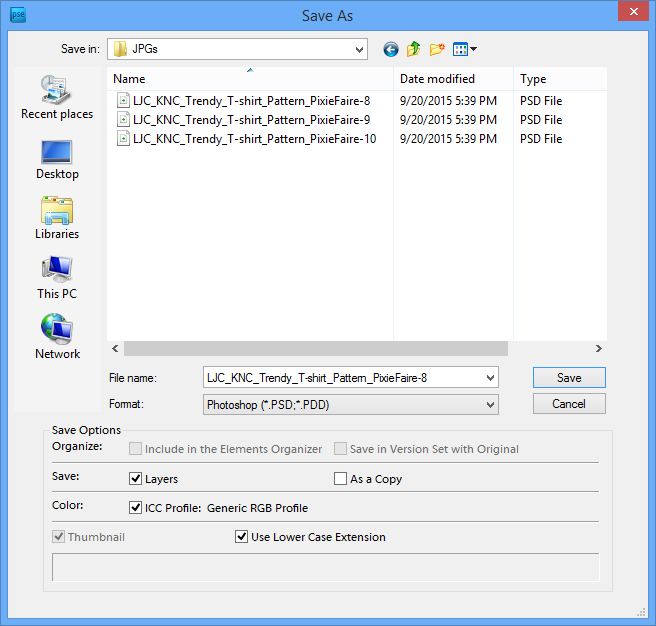
- I like to save each file as a Photoshop file, in case something goes wrong. It’s best to do that at a higher resolution than what you need for the JPG file, so I save them at 300 dpi. One at a time, save the files as Photoshop pages.

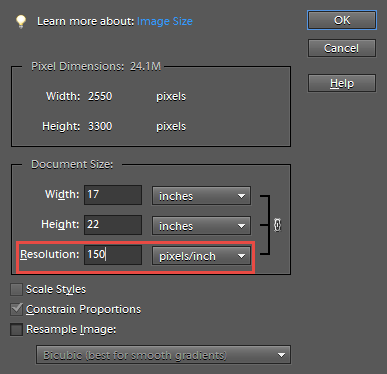
- One at a time, change each page’s settings to 150 dpi. This will give you the right scale when you import the images into Sure Cuts A Lot.

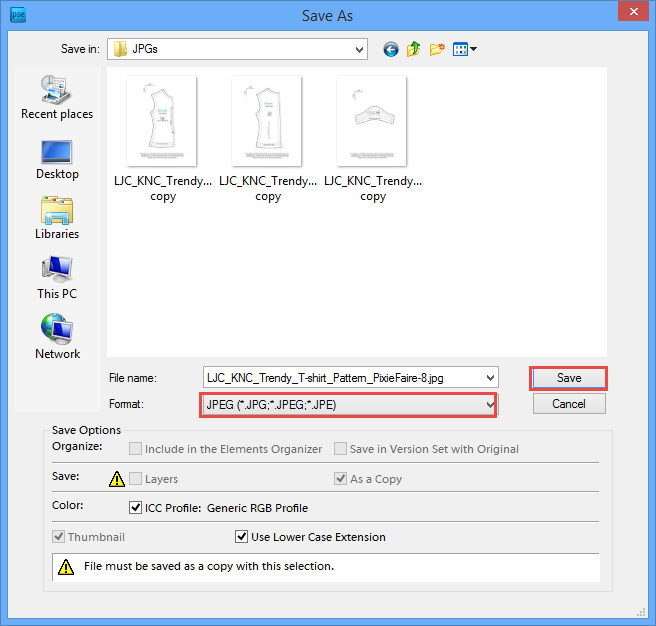
- Save each file as a JPG after the settings have been changed.


- You will now have an individual JPG file for each of your pattern pages.


The next blog will show how to use the JPG pages in Sure Cuts A Lot to set up your cut files.
