
I was testing a pattern sized for American Girl dolls by Love U Bunches on Pixie Faire (Princess Jaedyn). It’s a beautiful pattern with a strapless bodice that’s attached to a simple long skirt. One of the options of the pattern is to sew pintucks in the bodice fabric before being cut out. It gave me an idea – how could I accomplish this, and get perfect pin tucks, by using my embroidery machine?
I came up with an embroidery pattern that I digitized, similar to the concept of piecing quilt blocks in the hoop. By combining a series of folds and stitches, I could quite easily produce a hoopful of perfect pin tucks! The patterns for these pintucks will be available at Pixie Faire soon.
Each of these patterns creates a field full of pin tucks: 4×4, 5×7, 6×10, 8×12, and 8×14. You can then cut out your pattern piece using one of these pintuck pieces as the fabric.
Here are the steps you will need to follow to create an embroidery field of perfect pin tucks:
- Cut a length of fabric appropriate for the pin tuck field you selected.The fabric measurements are listed with the pattern.
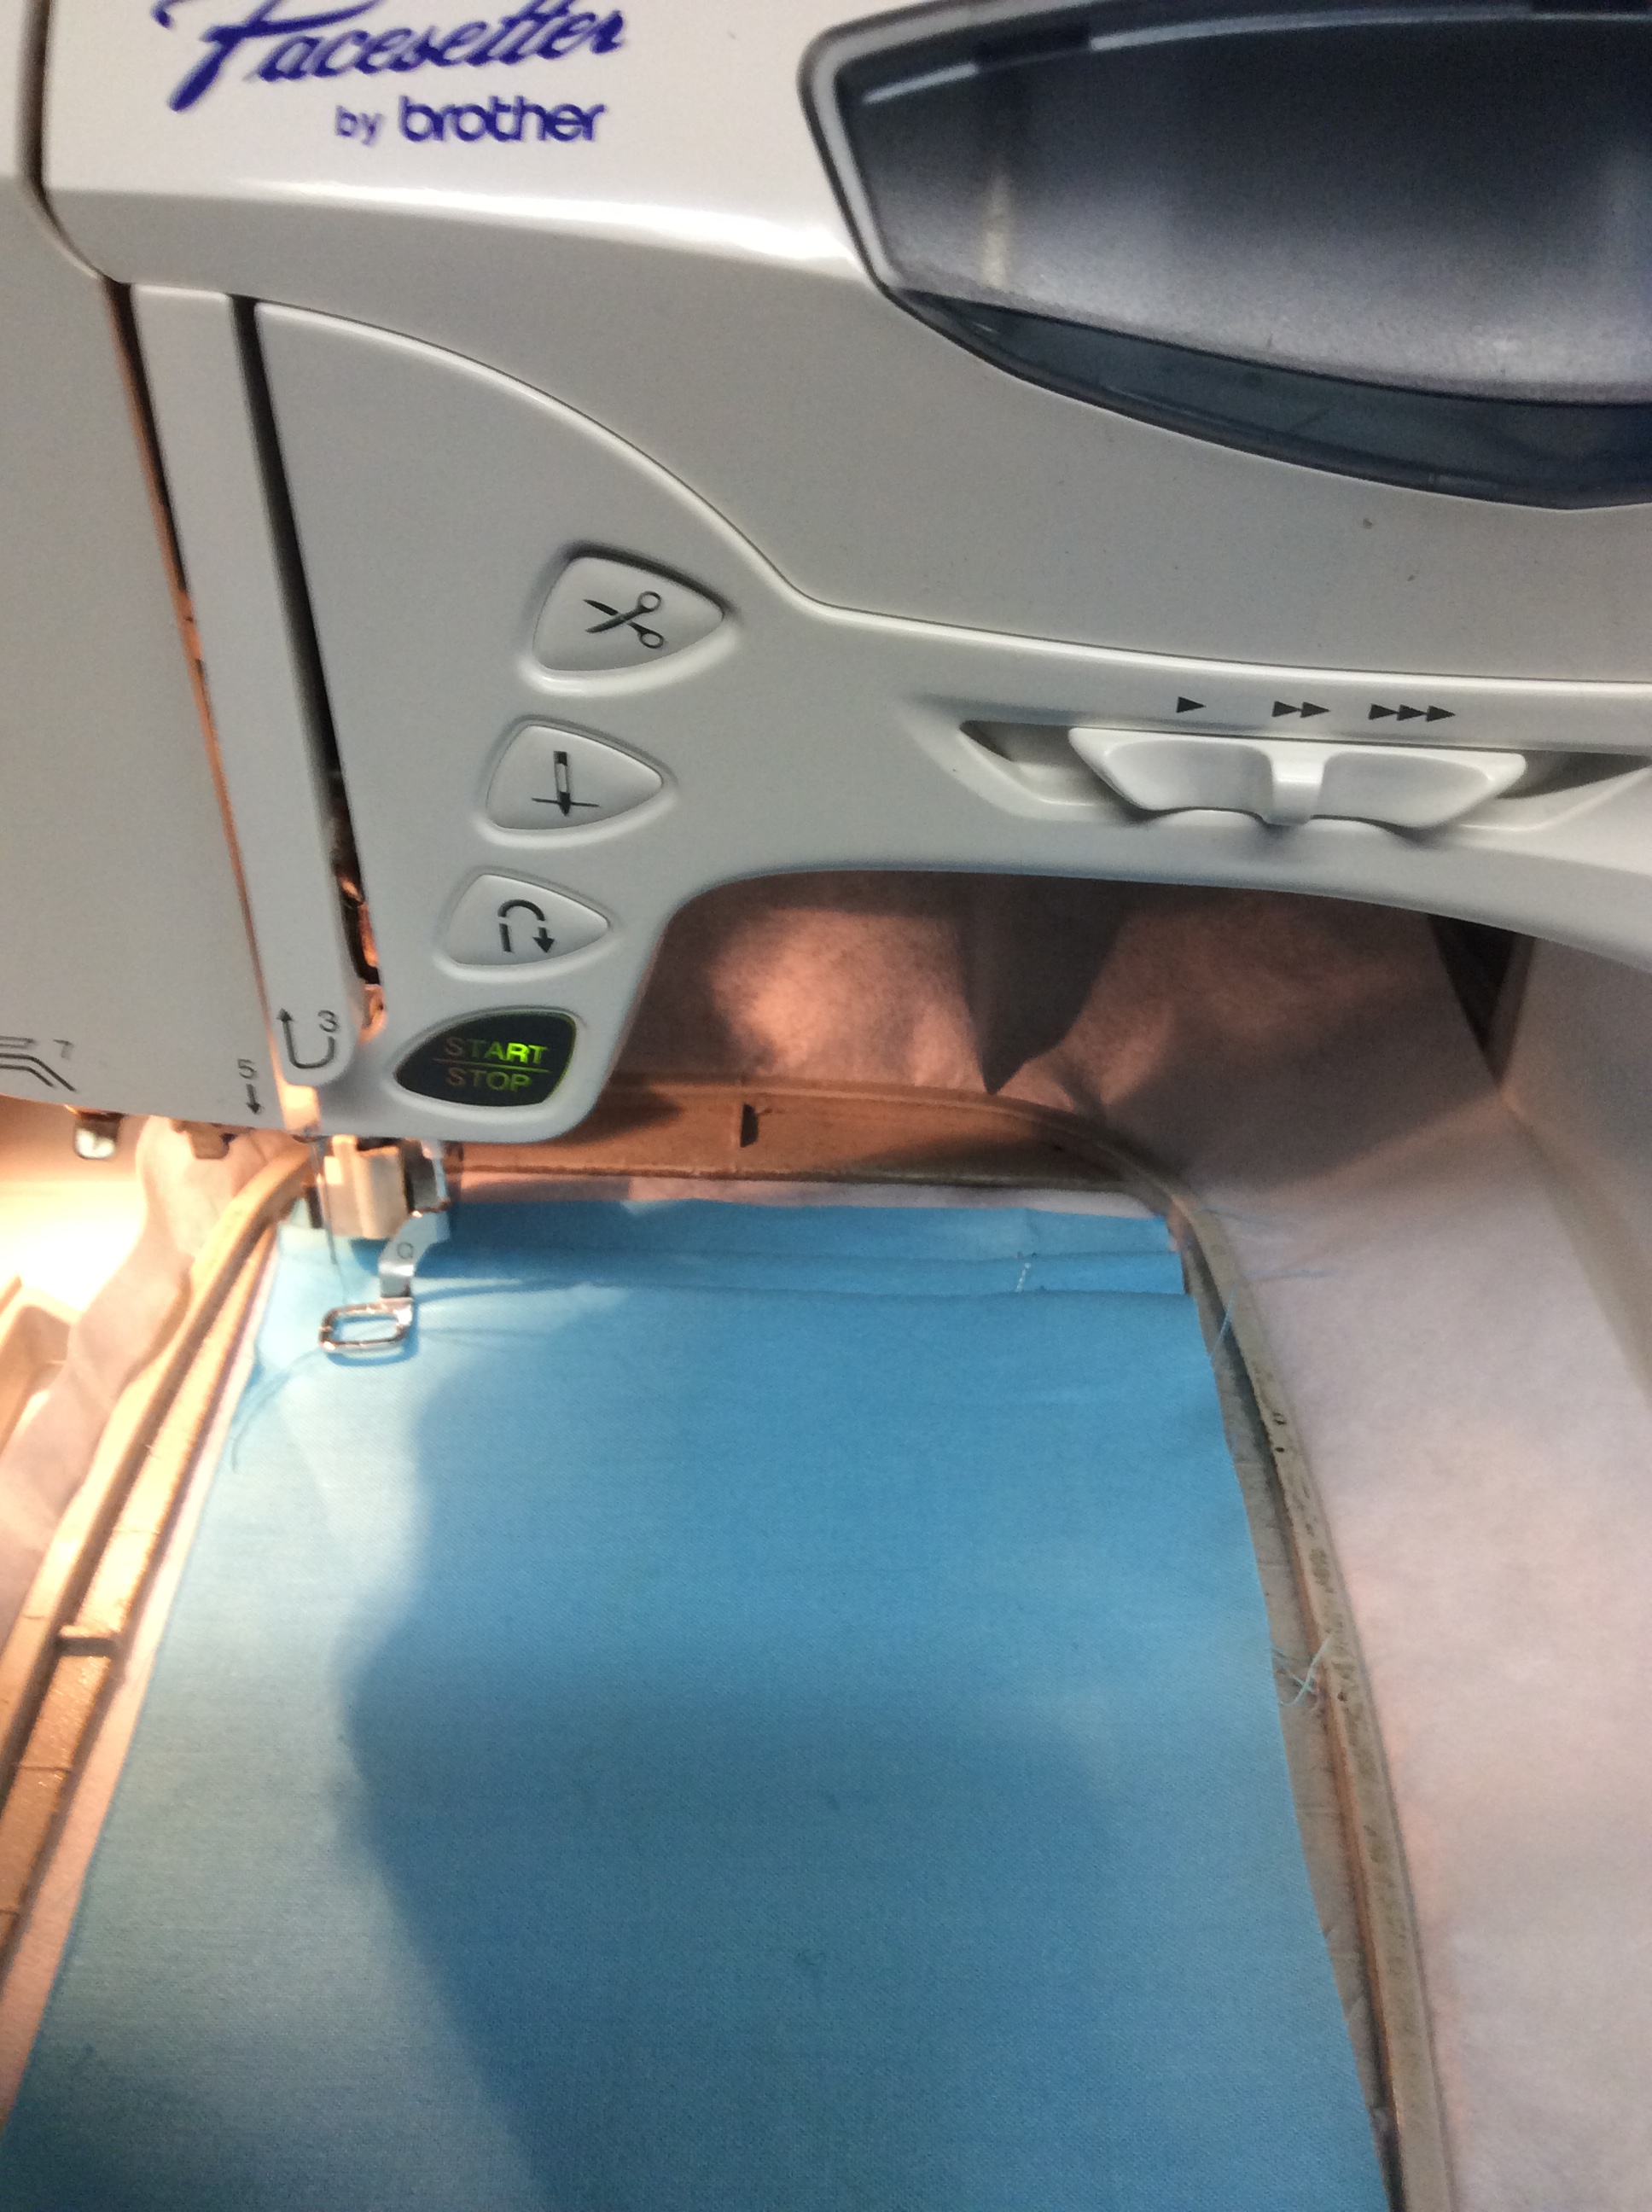
- Load the embroidery pattern into your embroidery machine and prepare for stitching. On my Brother machine, that means I should load the design, then press the “Sewing” button.

Ready for Stitching - Hoop either cut-away or tear-away stabilizer in your hoop, depending on whether you want a stiff piece of pin tucks (e.g., for a strapless bodice), or a soft piece of pin tucks (used as part of a softer pattern piece that needs to bend).

Stabilizer hooped and ready to stitch, along with fabric - Let the first color stitch. This is the rectangle that will show the boundary of the pintuck panel.
- Using the fabric piece that you prepared for pintucks, place one short end on the hoop, aligning the end of the fabric with the top line of the rectangle as shown in the photo below.
- When the fabric is lined up properly, stitch the next color. The machine will stitch one line across the width of the fabric piece.

Stitching the first line - Now, lift up the presser foot, and fold the fabric away from you, all the way back over the line that was just stitched. Smooth out the fabric so that it is perfectly folded and flat. The fabric will be laying behind the hoop, away from the embroidery machine, with just a small width of fabric available for stitching.

Fold the fabric back all the way behind the hoop, folding over the last row of stitching - You can view a small video of the process here: Folding the Fabric.
- Stitch the next color. The machine will stitch a straight line the width of the fabric.
- When the machine stops, lift the presser foot, and fold the fabric back toward you, over the line that was just stitched. Straighten the fabric, ensuring that the long edge aligns with the left edge of the placement rectangle that was stitched in step 4. Be sure the fabric has been pulled tightly over the last line stitched so that it is relatively taut.
- Stitch the next line.
- Repeat steps 6-11 until the embroidery field has been filled.
- The last color to be stitched will be the top stitching on top of the pin tucks. When the last line of fold stitches has completed, you will see the last color to be stitched displays a number of lines to be stitched, rather than just one. If you prefer, you can change the color of the top stitching for contrast. Stitch the last color for the top stitching. Here’s another short video of the process: Topstitching Video


This is brilliant! I would love to purchase your design
LikeLike
The pintucks should be posted on Etsy sometime this week. I’ll post the new listing on Facebook for sure.
Thank you!
Deana Guardado
LikeLike