This extra step is necessary because not all pattern pieces are saved in their PDF files as straight patterns. However, when you are using a cutter, you want to be sure that your pattern pieces are cut straight on the grain. If you’re sure your pattern pieces are straight on the grain, you can skip this step.
To straighten the pattern, be sure that the grain line marking is perfectly straight on the page. In most cases, I do not draw a straight grain line, but rather use the pattern’s edge as a guide. However, if the pattern piece is small, or if the grain is difficult to detect from the pattern’s edge, then I draw a grain line and add it temporarily to the pattern group. This line gives me a point of reference for straightening a pattern on the page.
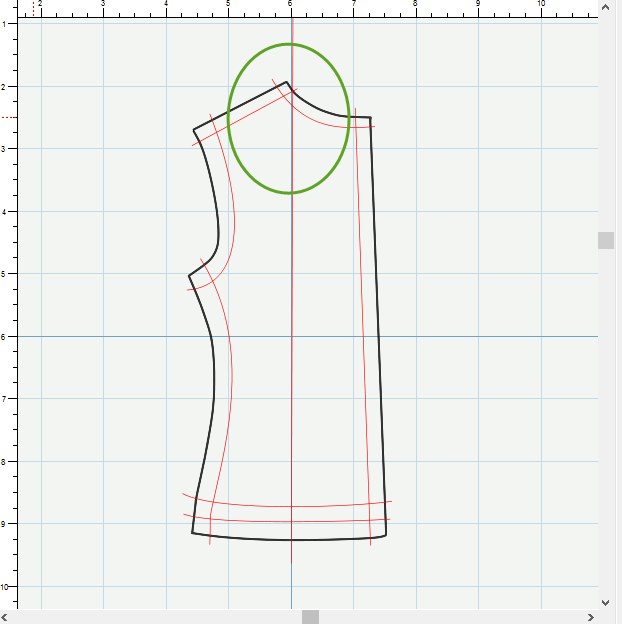
- Draw a straight line parallel to the straight grain line of your pattern piece. Simply use the same Draw Tool that you used for drawing pattern markings, and draw a straight line that is longer than the pattern piece. Your pattern piece should look something like this:

- Now temporarily disable the background image so that you can see the vertical and horizontal grid lines on the SCAL page. Remember, to do that, simply click the “eye” icon next to the background layer so that you can’t see it:

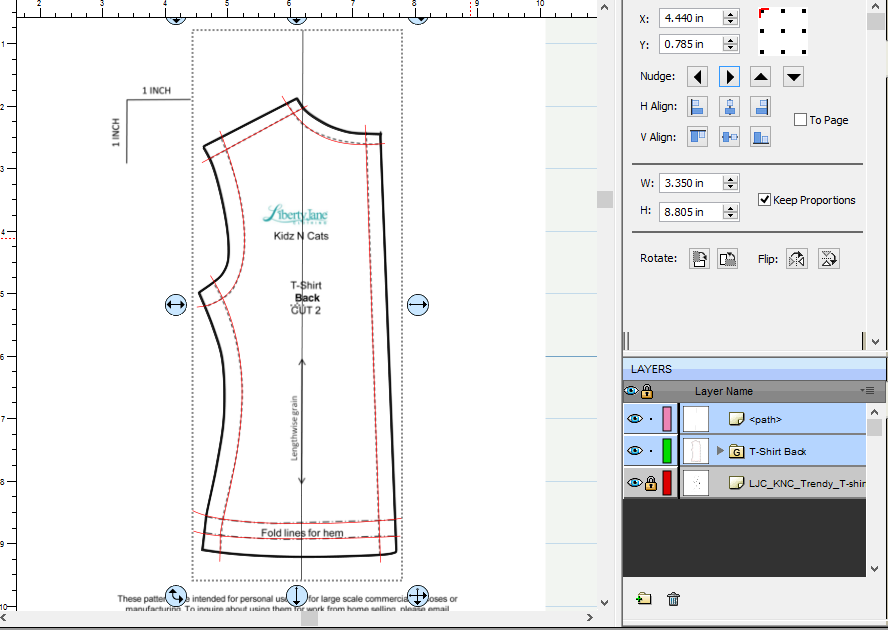
- Drag the pattern piece and new Grain Line so that the Grain Line is right on top of one of the grid lines. Double-check to make sure the pattern is perfectly aligned on the page to the grain line.
- As you an see, the pattern is mostly straight. However, there does appear to be a tiny bit of difference in the top of the pattern. The pattern should be moved, even if ever so slightly, so that it is on the straight grain. Select both the pattern piece group and the new temporary grain line, and rotate them just slightly until the grain line is perfectly parallel to the grid line. Here’s how it’s done.
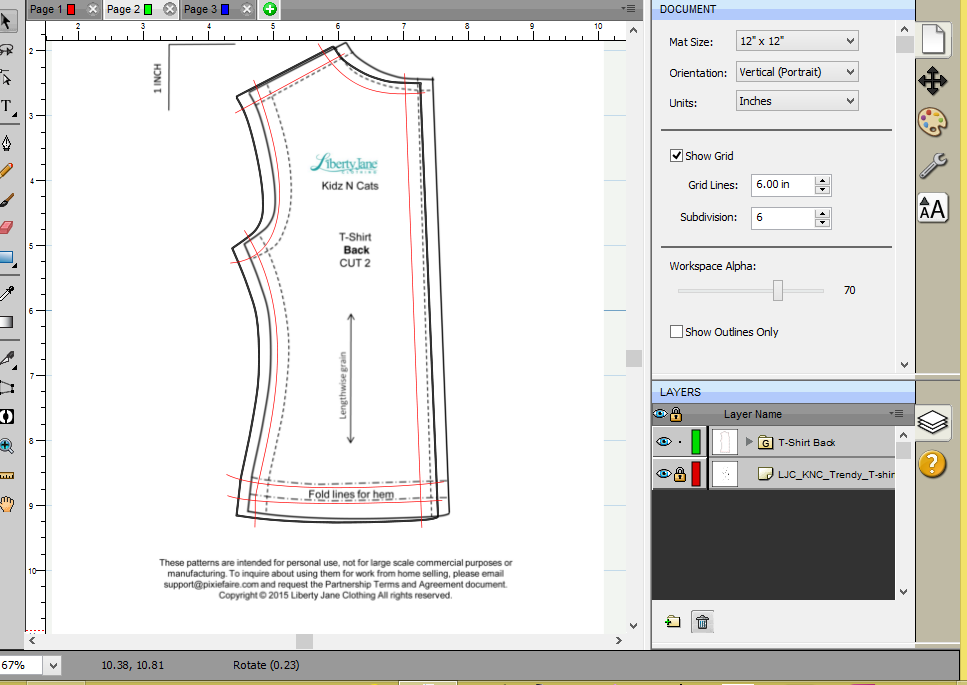
- Delete the temporary grain line when you’re finished. Also remember to turn on the display of the pattern piece. Even though it won’t be aligned to the pattern piece anymore, it’s important to display it for the next step. You should see something like this:


That’s all for this step! In the next step, we’ll set up the pattern piece for cutting and drawing, and align it on the page for cutting.
