In the previous steps, we converted a PDF’s pattern pages into JPG files, then “Placed” those images into Sure Cuts A Lot so that we could see the pattern pieces and their markings for later use.
After getting the images into Sure Cuts A Lot (SCAL), the next step is to create “cut” lines for an electronic cutter. Luckily, SCAL does most of the work for you, by “Tracing” images. Basically, you will be importing the same images into the file you’ve already created, but using a different command: the “Trace” command.
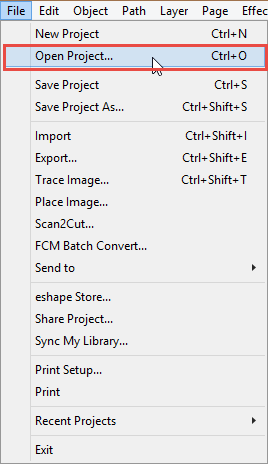
- Open the file that you created in Steps 1 and 2, if the file is not already open. SCAL will keep track of the files that have been used on a computer. Therefore, most of the time you will be able to use “Recent Projects” on the File menu:

- If you do not see the correct file on the “Recent Projects” list, then start at the top of the File menu and select “Open Project…” to find your file:

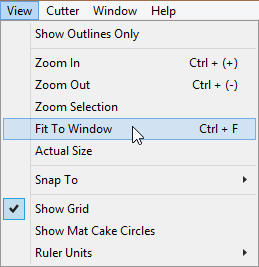
- It’s a good idea, at this point, to be sure you can see the entire page. Go to the View menu, and select “Fit To Window.”

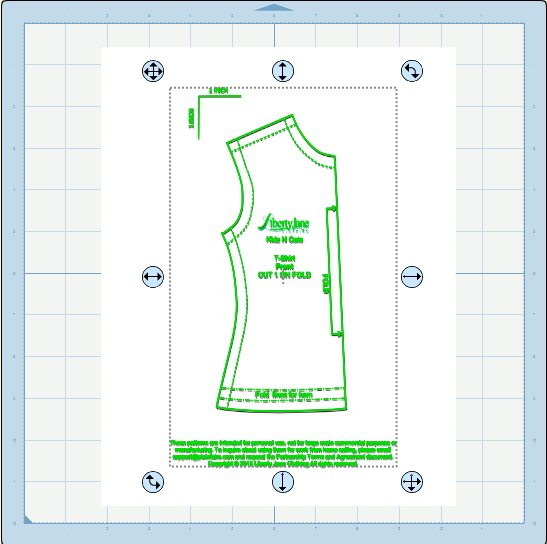
- On page 1 of the file, you should see the first pattern piece, which is the T-Shirt Front. Check to be sure the image is locked, as we’re not going to edit the image on the page. Rather, we want to “Trace” the same image so that we can get vector lines, which will be lines that can be edited to change shape, color, and other attributes. To Trace the image, go to the File menu and select “Trace Image…”:

- SCAL will open a dialog box to allow you to find the JPG image. You will be inserting the same files that you used when first Placing the images. This dialog box looks like this:

- Select the “Choose an image…” button. SCAL will open another dialog box to allow you select the file to be traced:

- Select the file that matches the page you’re working on. In this case, it’s the first of three images or pattern files that you’re importing. SCAL calculates where all the lines are in the image, and displays a proposed image to trace:

- After you select the “OK” button, SCAL will Trace the lines of the image and put them on your page:

- It appears that you have two of the same image on the page. The one you just put on the page should be movable – as seen by the arrows around the image. You locked the other image after placing the image in the file before. Make sure that one image is locked (the image file with the white background), and that the other is movable. You can do this by looking at the Layers menu at the bottom right of the window in SCAL. You should see:
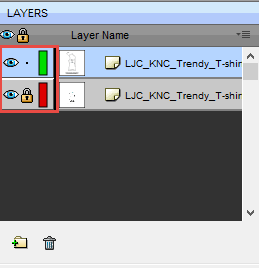
- The top layer is the image you Traced, and the bottom layer is the image you Placed. The Traced image can be edited, but the Placed image cannot. Now move the top image so that it is exactly on top of the bottom image. This is important for later adding the lines to be drawn by the cutter.

- Save your file!
- Trace the images for the rest of the pattern pieces using the steps above. You should end up with three pages that look like this:


In the next step, we’ll take just the outlines of each of the pattern pieces. If we just want to use the cut feature of the electronic cutter, it wouldn’t be necessary to do all of this. But because we want to add the lines for drawing as well, we’re going through these extra steps to be sure that the lines we cut and draw are as accurate as possible.
