After converting the PDF pattern pages into JPG files, the next step is to put these images into Sure Cuts A Lot (SCAL). I selected this software after trying Make The Cut and Canvas, and decided that SCAL is the right tool for me because it will export my pattern pieces right into the FCM format, which is what my cutter (the Brother ScanNCut) uses. It also has additional features that I found useful while drawing pattern markings.
- Open SCAL. You can decide now whether to set the page size to 12×12 or 12×24. Since we’re doing a simple T-shirt pattern, we’ll start off with a 12×12 page.

- Save the file now so you don’t forget. I always save the file in the same folder where the pattern is stored, inside its own folder where the SCAL files are stored.

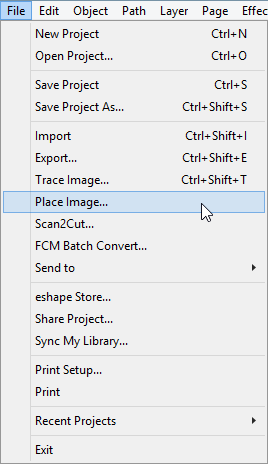
- One at a time, Place each JPG file into a page by itself in SCAL. First, go to the File menu, and select “Place Image…”

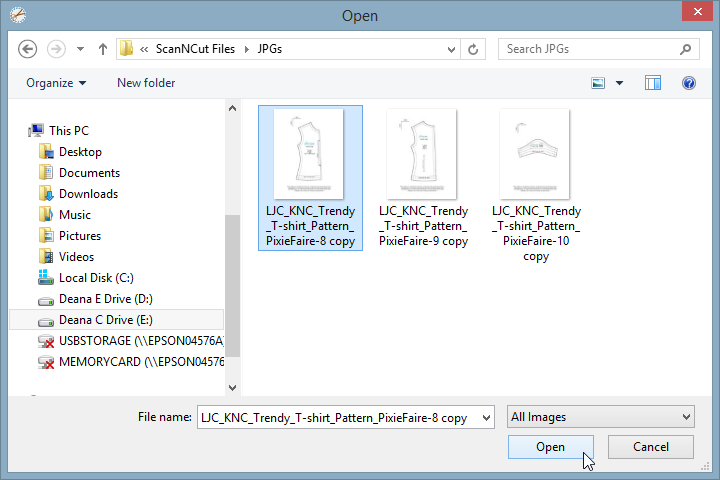
- Next, find and select the first JPG image you saved from your PDF file:

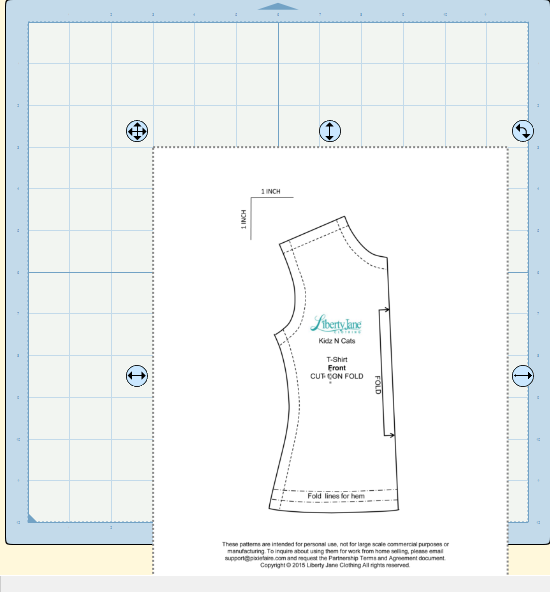
- SCAL will place an image of the JPG page.

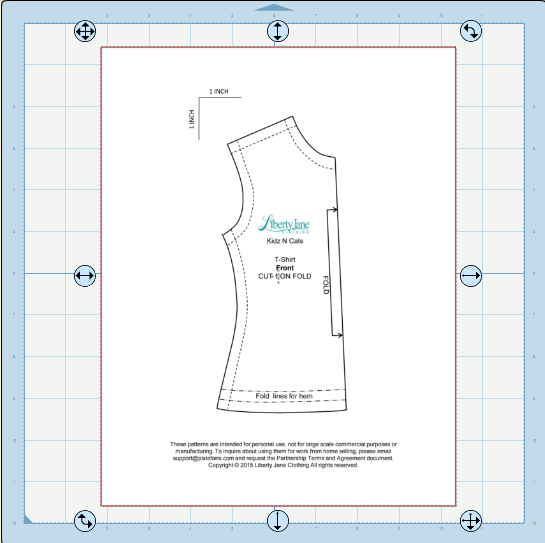
What you see is a “picture” of the image file on a page in Sure Cuts A Lot. We’re going to use this picture to draw pattern markings and double check grain placement, number of pattern pieces required, etc., just to be sure that what we’re converting is being done properly. - Move the image to the center of the page by dragging it. It doesn’t have to be in the exact center; it just has to be moved so the entire image is inside the page boundaries.

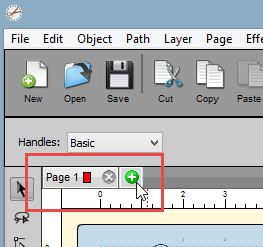
- Add a new page in SCAL so that the next image can be placed. To do this, simply click the + sign next to the page name. In this case, since we haven’t renamed the page, it’s “Page 1.” Click on the green “plus” sign to add a page.

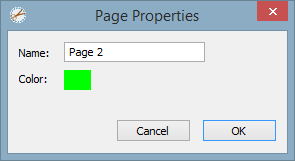
- SCAL will give you the option now to name the new page. For now, just accept the default page name.
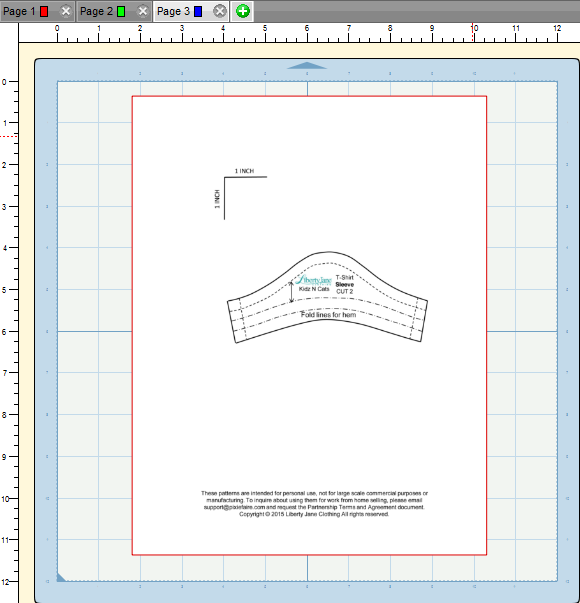
- Place the next image on the page, as you did, beginning on step 3. When you’re finished placing the images for your pattern, then be sure to save the file. You should have something that looks like this:

- Note that in this case, we have three tabs, or three pages. Each of three JPGs have been placed on a page of their own and manually centered on each page. Be sure to save the file.
- The last step for placing images on each page is to Lock the image on the page. This will make it easier to select the “Cut” and “Draw” lines in following steps without accidentally selecting the background image. To do this, look at the right side of the page for the Layers menu:
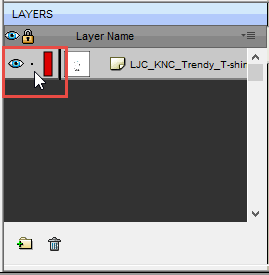
- Note that there is an “eye” at the left edge, and a “dot” next to it. Click on the “dot” to Lock the image:

- Try to move the image on the page. If you can move it, it’s not locked. Be sure there is a “Lock” symbol on each of the images you placed in the file.


The next tutorial page will show you how to Trace each of these images so that the cut outlines will be made. This will be the beginning of creating lines that electronic cutters can use.
